Here’s the thing about skylights in Reseda: they can flood your home with the most beautiful, golden-hour light you’ve ever seen, or they can become a persistent, maddening source of drips and damage. We’ve installed hundreds over the years, from classic Ventura Boulevard storefronts to those charming, sun-starved homes tucked up near Reseda Park. The difference between the two outcomes isn’t luck. It’s a series of deliberate, often overlooked choices made long before the first piece of glass goes in.
Key Takeaways
A successful skylight is 90% preparation and 10% installation. The biggest leak risks aren’t the glass, but the flashing and roof integration. In Reseda’s climate, thermal expansion and material compatibility are your silent enemies. And frankly, for most homeowners, the DIY path is a fast track to discovering your home’s most expensive weak spot.
Table of Contents
What You’re Really Buying Isn’t a Window
When clients call us, they’re usually focused on the unit itself—the glass, the frame, whether it opens. That’s important, sure. But what you’re actually installing is a permanent hole in your roof’s most critical defense system. The skylight is just the plug. The real magic (or misery) happens in the transition between that plug and your existing shingles, tiles, or flat roof membrane.
Featured Snippet: What is the most common cause of skylight leaks?
The most common cause isn’t a crack in the glass, but failure of the flashing system—the metal or membrane strips that seal the seam between the skylight frame and the roof. Improper installation, incompatible materials, or movement from thermal expansion can break this seal. In older homes, the surrounding roof deck itself may be compromised, creating a leak path that appears to be from the skylight.
The Reseda-Specific Factors Most Guides Miss
You can’t talk about this properly without getting local. Our climate here in the San Fernando Valley isn’t just “sunny.” We get intense UV degradation, wide temperature swings from day to night, and those rare but heavy winter rains that test every seam. A skylight that works perfectly in a milder coastal climate can fail here in five years.
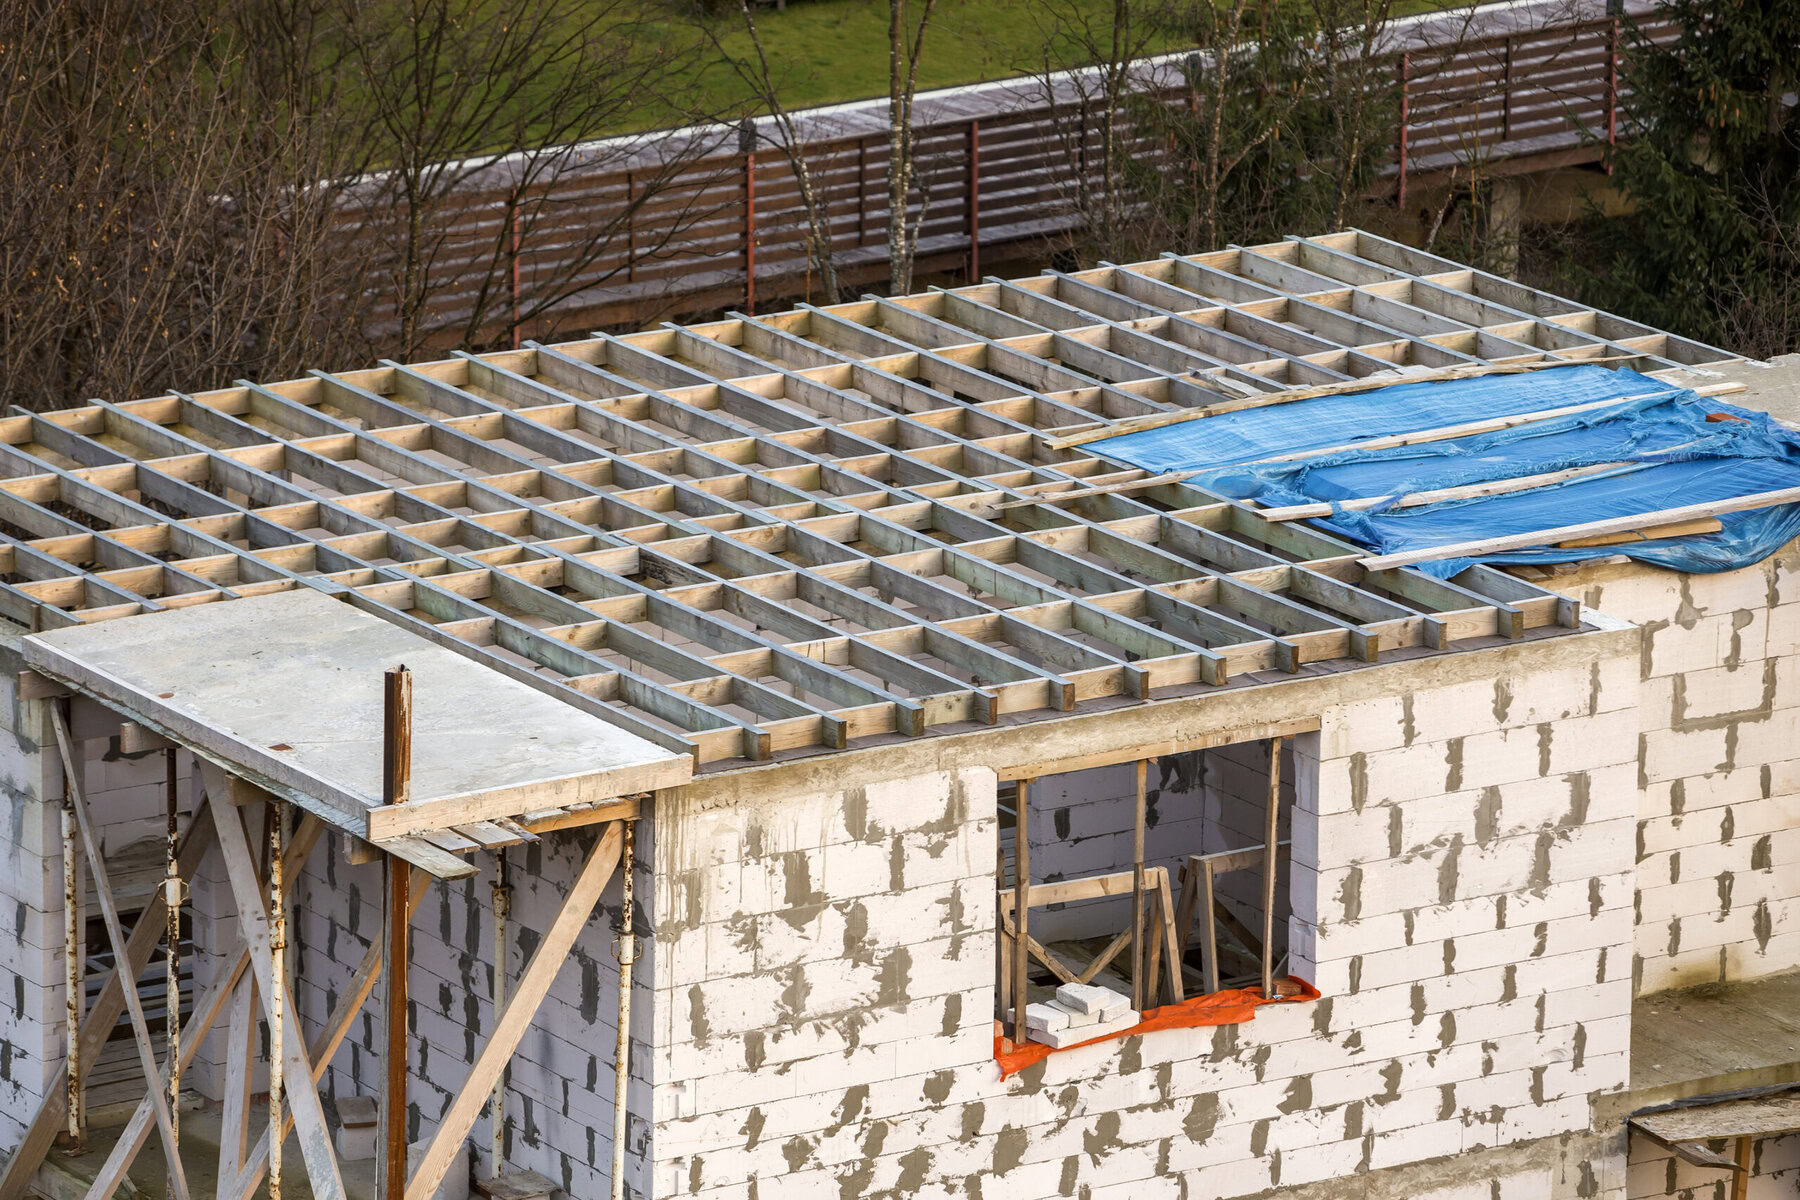
We see it all the time in neighborhoods like Northridge or Tarzana, where homes from the 60s and 70s are getting updates. The existing roof structure wasn’t designed for today’s larger, heavier units. And let’s be honest: the soil movement in the Valley isn’t kind to rigid structures. A house that settles a quarter-inch can torque a skylight frame just enough to break a seal. It’s why we spend as much time inspecting the rafters and sheathing as we do measuring the rough opening.
The Flashing Fiasco: Step vs. Curb-Mounted
This is the single most important decision, and it’s where cheap installers cut the most dangerous corners.
Step Flashing is the traditional method for pitched roofs, with L-shaped metal pieces woven under each shingle course and over the skylight curb. Done right, it’s elegant and water-shedding. Done wrong (and it often is), it’s a labyrinth of potential leak paths. It requires a roofer’s precision and patience.
Curb-Mounted Flashing involves building a wooden curb (or using one supplied with the unit) and then covering it with a continuous, pre-formed metal flashing kit. This is generally more forgiving and reliable, especially for DIY-inclined pros. It raises the profile of the skylight, which can be a cosmetic consideration.
Here’s a brutally honest comparison from the field:
| Consideration | Step Flashing | Curb-Mount Flashing |
|---|---|---|
| Skill Level Required | Very High. Requires intricate shingle work. | Moderate. More straightforward sealing. |
| Leak Risk (if imperfect) | Higher. Many individual interlocking pieces. | Lower. Fewer seams, more continuous coverage. |
| Best For | Low-profile, integrated look on composition shingle roofs. | Tile roofs, heavy shingles, or when maximum reliability is key. |
| Our Typical Call | We use it less now unless the architecture demands it. The risk/reward often doesn’t favor the homeowner. | Our default for most installations. The consistency is worth the slightly bulkier look. |
The Three Leaks That Aren’t the Skylight’s Fault
We get the panic call: “The skylight is leaking!” Half the time, the skylight itself is innocent. Water is a master of deception.
- The Condensation Cry: This is huge in Reseda. On a cool winter morning, warm, humid air from your kitchen or bathroom hits the cold interior glass. It beads up and drips down, feeling exactly like a leak. The fix is often better bathroom ventilation or a skylight with a higher thermal performance (low-E) coating, not resealing the roof.
- The Ice Dam Imposter (Yes, even here): On those rare cold snaps, snow can melt on the upper roof, run down under the snow, and refreeze at the eaves. This ice dam can back water up the roof and under the flashing, entering the house at the skylight—the highest point of penetration. The skylight is the victim, not the cause. The real fix is attic insulation and ventilation.
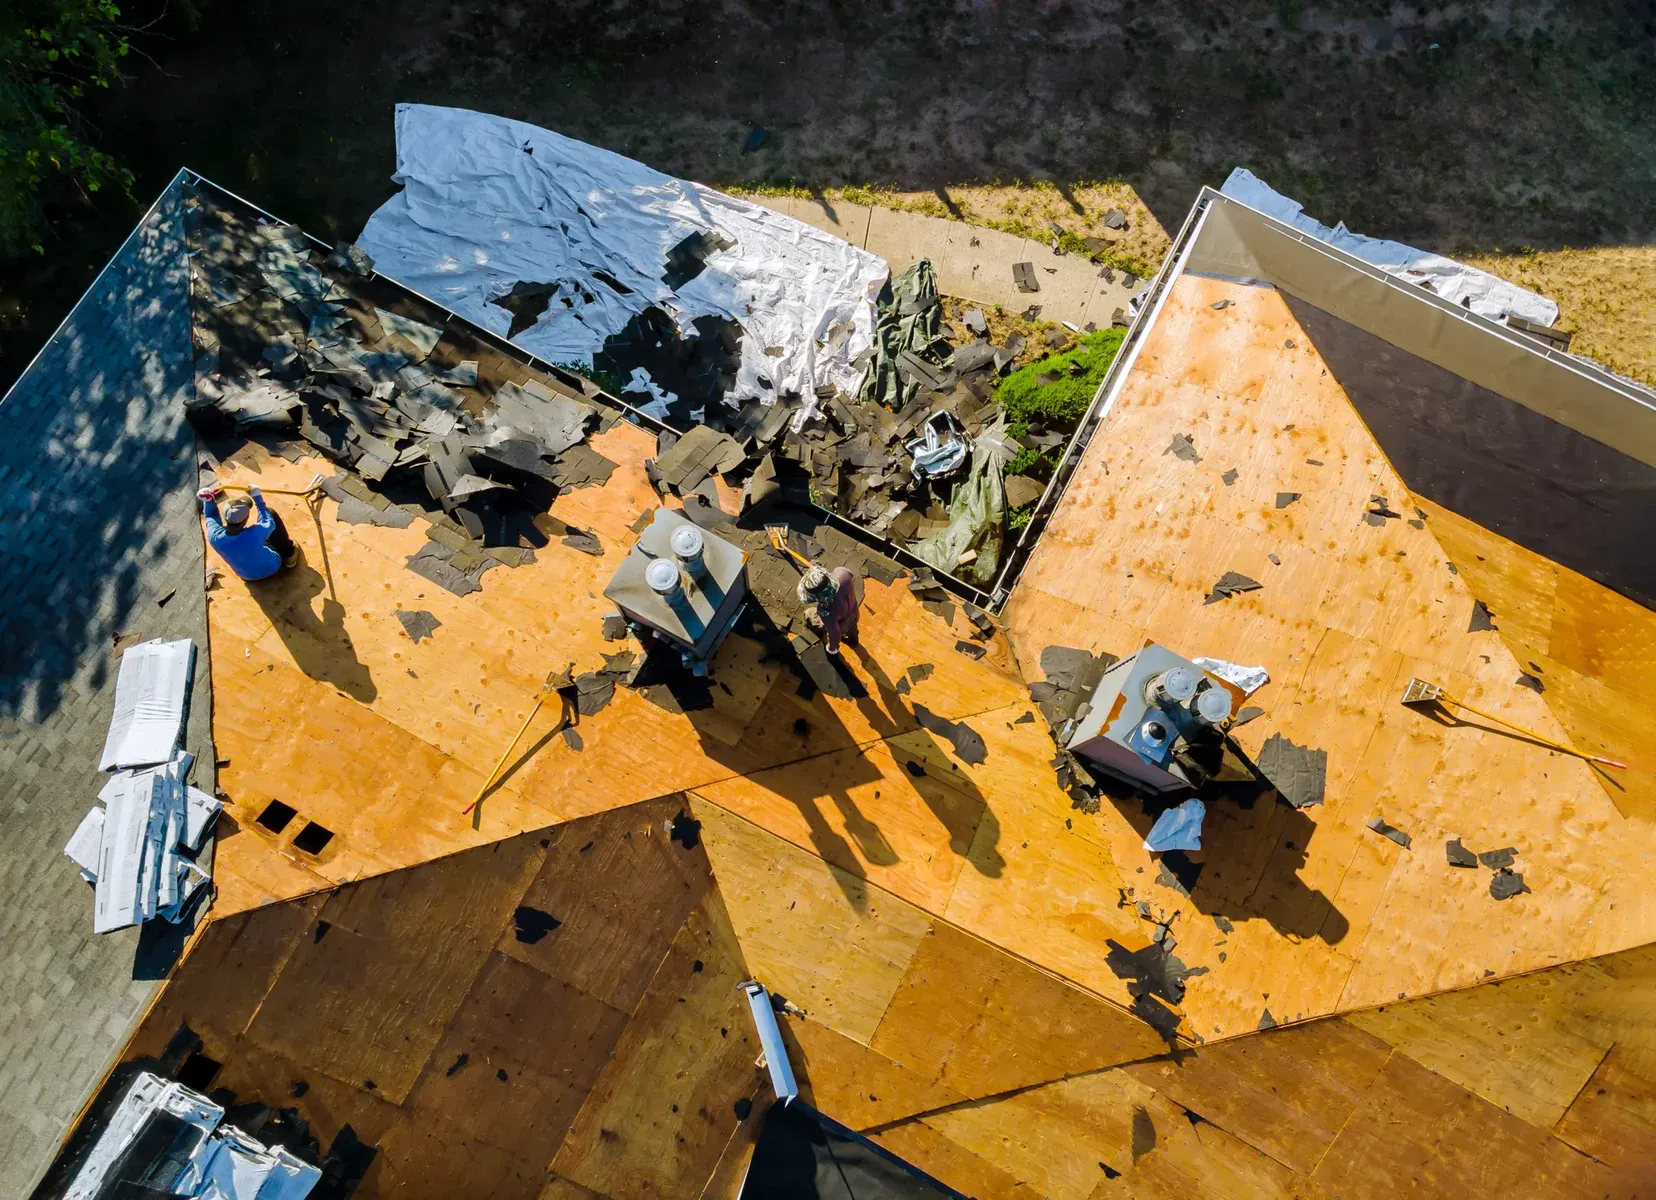
- The Deck Failure: You install a beautiful new skylight on a 30-year-old roof. The first big rain comes, and water appears at the frame. The seal is perfect, but the plywood sheathing around the opening is soft and rotten from an old, slow leak. The new installation just revealed the old problem. This is why we insist on a deck inspection for every job.
When “Just Resealing It” is a Terrible Idea
A tube of roof sealant is not a solution; it’s a temporary confession that the installed system has failed. We see homes near the Reseda Golf Course where someone has globbed black tar or silicone around the flashing every few years. It’s a mess, it degrades in the sun, and it hides the real issue—usually failed step flashing or dry-rotted curb wood. A proper repair means carefully removing the surrounding roofing, diagnosing the failure point, and fixing it with correct materials. Often, by the time you pay for that, you’re halfway to the cost of a proper replacement with a modern, more efficient unit.
Why We Gently Steer Most Homeowners Away from DIY
Look, we get the appeal. It seems straightforward: cut a hole, flash it, set the unit. I’m not here to protect our trade secrets. I’m here to tell you about the 3 AM phone calls we’ve gotten from desperate DIYers during a storm.
The skills required are hybrid: part finish carpenter, part master roofer, part waterproofing expert. One misstep in measuring the rough opening or integrating the flashing with the existing roof pitch, and you’ve compromised your home’s envelope. The cost to have a pro like us come in and fix a botched DIY job is almost always 2-3 times the cost of having it done correctly the first time. Your time, risk, and peace of mind have real value. If your project involves a complex roof pitch, tile roofing (very common here), or a room where a leak would be catastrophic (over a finished ceiling or expensive flooring), professional help isn’t a luxury; it’s cheap insurance.
The Long Game: Maintenance That Actually Matters
Forget the vague “inspect annually” advice. Here’s what we tell our clients in Reseda to actually do:
- Twice a Year: From the ground, use binoculars after the first heavy fall rain and again in late spring. Look for debris buildup on the upslope side and any visible gaps in the flashing metal.
- Every Few Years: If safe to do so, get on the roof and clear any leaves or pine needles from the head flashing (the piece at the top). This is where 80% of clogs start, causing water to back up.
- The Interior Check: Inside, run your hand along the drywall or wood trim surrounding the skylight shaft during a rainstorm. Feel for dampness or cold spots. That’s your early warning system.
- Trim Those Trees: Overhanging branches from the beautiful old trees near Reseda Park don’t just drop debris; they scratch and wear on flashing and roof surfaces.
Wrapping Up the Light
A skylight should be a source of joy, not anxiety. The goal isn’t just to prevent leaks, but to install a component that becomes a silent, reliable part of your home for decades. It comes down to respecting the complexity of the roof system, choosing the right installation method for your house, and committing to the tiny bit of upkeep it requires. If you take one thing away, let it be this: the money saved on the cheapest bid or a DIY gamble is almost always spent later, with interest, in the form of repair bills and frustration. Do the research, ask the hard questions about flashing, and invest in the installation as much as the product. Your future self, sitting in that beautiful patch of Reseda sun on a rainy day, will thank you.
If you’re in the Los Angeles area and want a second opinion on an existing skylight issue or are planning a new installation, our team at California Green Roofing can help you navigate these decisions with clear, experience-backed advice.
People Also Ask
In California, skylight requirements are governed by the California Building Standards Code (Title 24) and local amendments in Los Angeles and the San Fernando Valley area. Skylights must meet specific energy efficiency standards, including a maximum U-factor and Solar Heat Gain Coefficient (SHGC) based on climate zone. For example, in Los Angeles (Climate Zone 9), skylights typically require a U-factor of 0.50 or less and an SHGC of 0.30 or less. Additionally, skylights must be installed with proper flashing and curbs to prevent leaks, and they must comply with structural load requirements for wind and seismic safety. For residential installations, a building permit is usually required. California Green Roofing always advises checking with your local building department for specific zoning and historic district rules.
The lifespan of a skylight before it begins to leak depends heavily on the installation quality and materials used. A well-installed, modern skylight with a proper curb and flashing system can typically last 15 to 20 years before sealants degrade. However, the most common failure point is not the glass itself, but the flashing and sealant around the curb. In the Los Angeles climate, UV exposure accelerates the breakdown of these rubber gaskets. For commercial properties, many owners are switching to TPO roofing precisely because it integrates better with skylight curbs. For a deeper look at this trend, you can read our article TPO Roofing: The Go-To Choice For LA Commercial Properties?. At California Green Roofing, we always recommend annual inspections to catch minor sealant cracks before they turn into leaks.
Yes, a skylight can often be resealed, but it is not always a permanent solution. The effectiveness depends on the type of leak and the condition of the skylight's flashing. If the leak is caused by dried-out or cracked rubber gaskets around the glass, a professional can typically remove the old sealant and apply a high-grade, UV-resistant roofing sealant. However, if the metal flashing itself is rusted or the skylight frame is warped, resealing may only be a temporary fix. For a thorough assessment, you should review our internal article titled 'Leaking Roof? Don't Panic. Here's How A True Roof Repair Specialist Can Help.' Leaking Roof? Don't Panic. Here's How A True Roof Repair Specialist Can Help. for guidance. At California Green Roofing, we always recommend inspecting the entire skylight assembly to determine if a full replacement is more cost-effective than repeated resealing.