Key Takeaways: The biggest cost factors for an EPDM roof are the roof’s size and complexity, the membrane thickness you choose, and whether you’re doing a full tear-off or a recover. Labor and regional material costs are the other major variables. For a standard residential low-slope garage or addition in Los Angeles, you’re typically looking at a range.
So, you’re looking at an EPDM roof. Maybe an architect specified it, or you’ve heard it’s the go-to for flat and low-slope sections. The quote comes in, and your first thought is probably, “Wait, why does rubber cost that much?” We get it. Having installed acres of this stuff over the years, from small porch covers to massive commercial buildings, the price tag can be a surprise if you’re only thinking about the material roll itself.
The reality is, the membrane cost is just one piece. The final number is a puzzle built from your specific roof’s geometry, the condition of what’s underneath, and the quality of the installation system. Let’s break down what you’re actually paying for.
What is EPDM, Really?
EPDM (Ethylene Propylene Diene Monomer) is a synthetic rubber membrane, most often black or white, used primarily on low-slope roofs. It’s durable, flexible across a wide temperature range, and relatively simple to install compared to some other systems. Think of it as a giant, seamless rubber pond liner for your roof.
The Three Pillars of Your EPDM Quote
When we put together a proposal, three core elements drive 90% of the cost. Everything else is a variation on these themes.
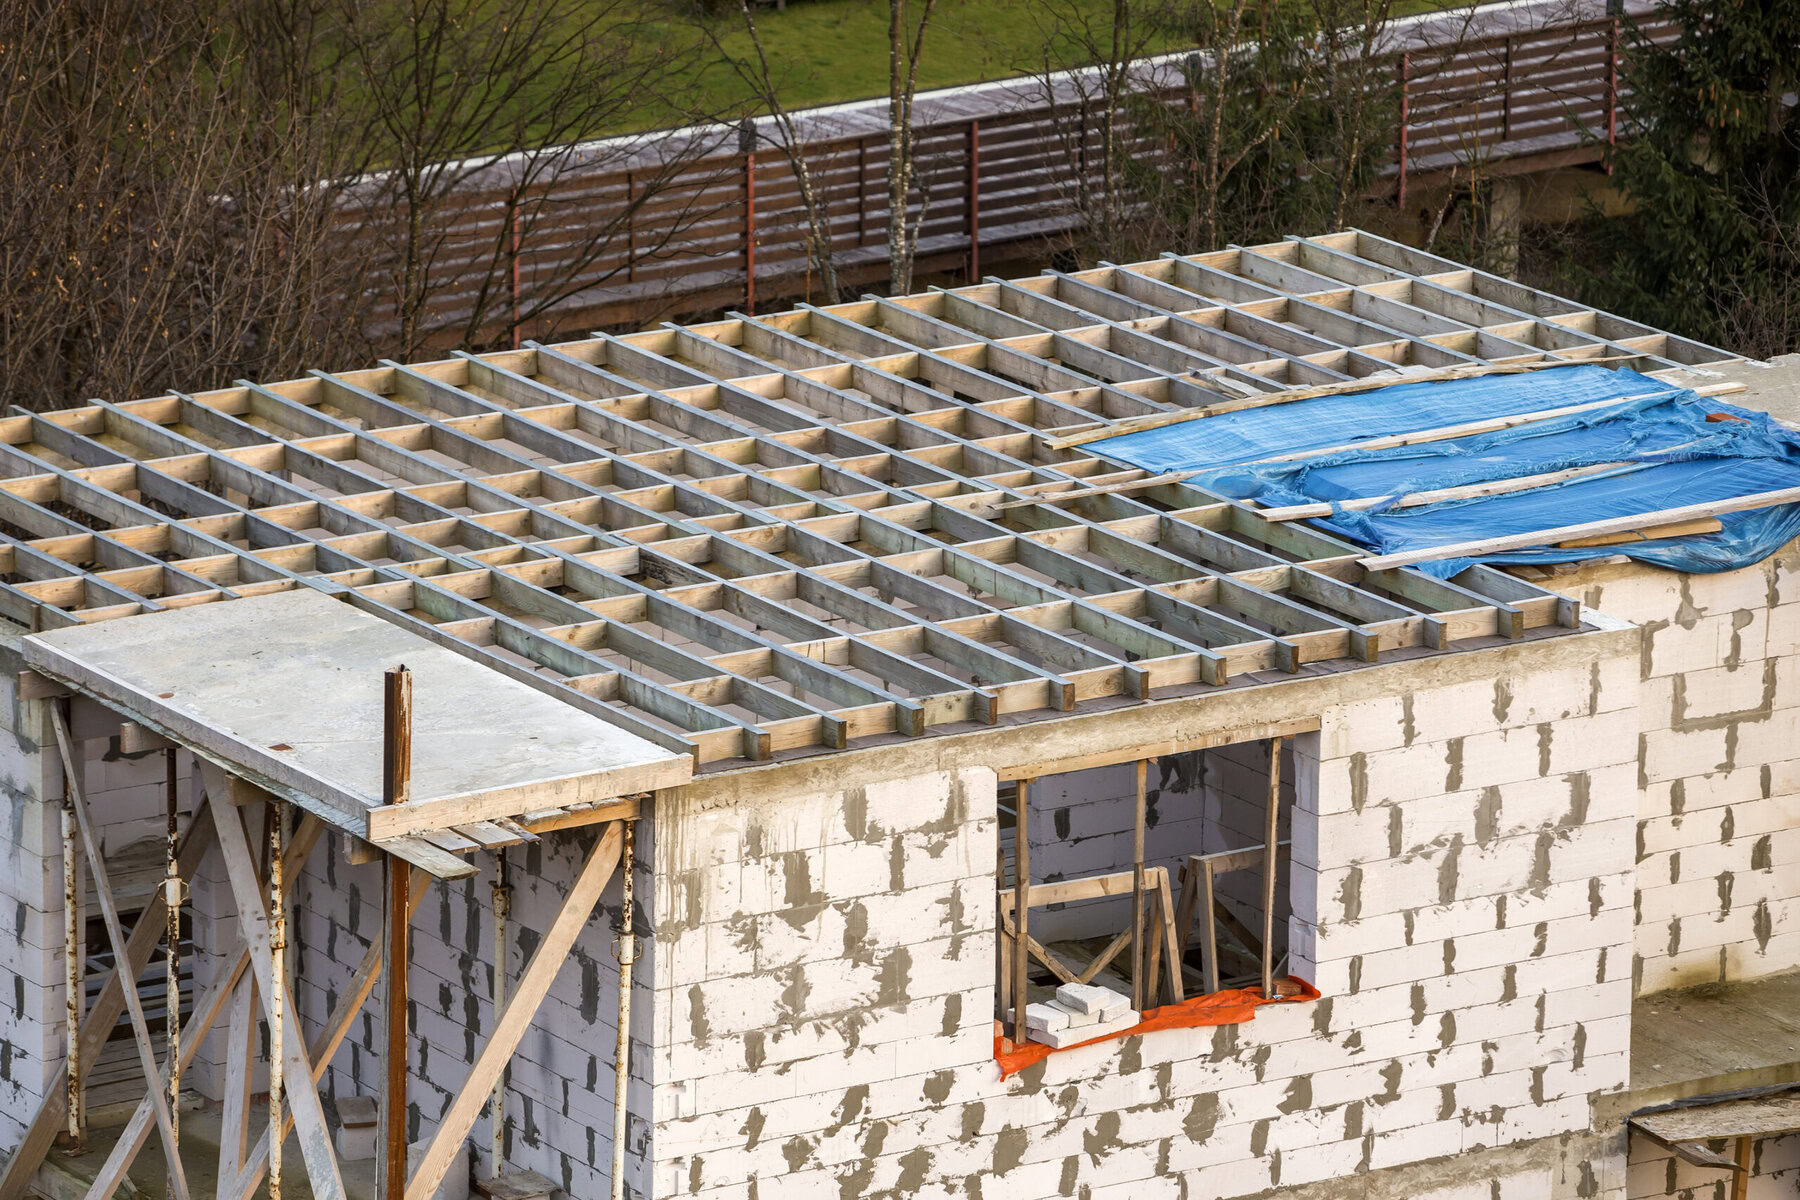
- Substrate & Preparation: This is the make-or-break phase that homeowners rarely see. We can’t just roll rubber over old, wet, or uneven decking. Is the existing roof a full tear-off down to the plywood? Are we doing a “recover” over smooth, secure insulation? Is there rotten wood to replace? In older LA neighborhoods like Silver Lake or Hancock Park, where flat-roofed additions are common on classic homes, we almost always find surprises—water damage hidden under old tar, compromised decking. That repair work is labor-intensive and adds cost, but skipping it guarantees a short-lived roof.
- Membrane & System Choice: Not all EPDM is equal. The standard thicknesses are 45 mil and 60 mil (a mil is 1/1000th of an inch). 60-mil costs more but offers better puncture resistance and longevity—it’s what we typically recommend. Then, there’s the installation method. Will it be fully adhered (glued down across the entire surface), mechanically fastened (secured with plates and screws), or ballasted (held down with stone or pavers)? Each has different material and labor costs. Fully adhered is common here for its wind resistance and clean look, but it’s also the most labor-intensive.
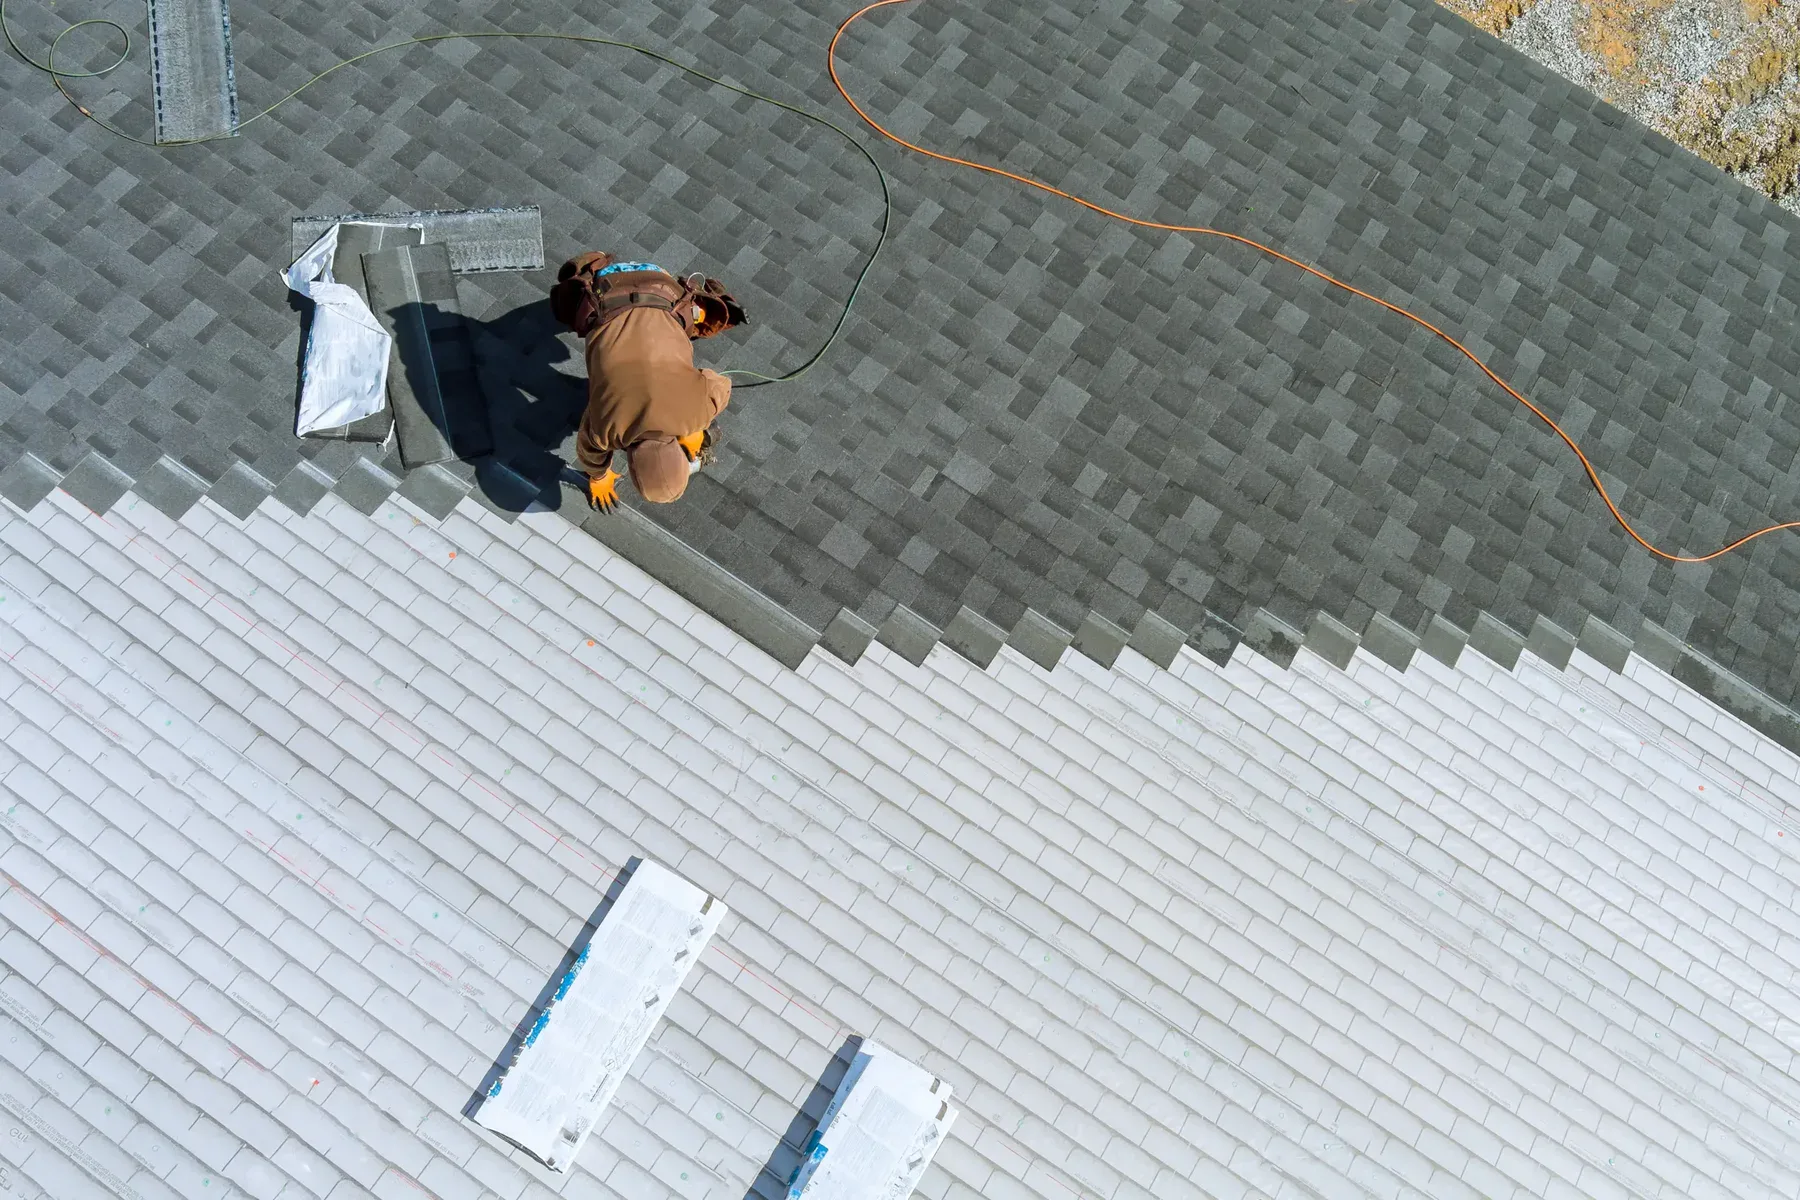
- Labor & Complexity: This is where a simple 10’x10’ square becomes a different financial beast than an L-shaped roof with walls, pipes, skylights, and HVAC units. Every penetration (pipe, vent) requires careful flashing. Every wall needs a termination bar. Inside and outside corners need precise seams. More cuts, more seams, more detail work = more time. Labor isn’t just about speed; it’s about the skill to make those details watertight for decades.
The Hidden (and Not-So-Hidden) Line Items
Beyond the big three, these factors regularly adjust the final number:
- Access & Logistics: Is it a three-story building with no elevator? Do we need a giant crane to lift materials? Can we park a dumpster nearby, or do we need to shuttle debris by hand? A roof in a dense part of West LA with tight permits and parking is a different logistical puzzle than one in the Valley with a wide-open driveway.
- Warranty: A longer, stronger warranty (like a 20- or 30-year manufacturer’s warranty) often requires specific, certified installation methods and materials, which can add to the upfront cost. It’s an investment in long-term assurance.
- Local Code & Climate Adaptations: In Southern California, we’re increasingly thinking about solar readiness and reflectivity. A white EPDM membrane (which costs a bit more) reflects solar heat, reducing cooling costs. If you might add solar panels later, we need to plan the layout and reinforcement points during installation. It’s cheaper to do it right once.
When DIY Becomes a False Economy
We’ve been called to fix enough DIY and handyman EPDM jobs to know where it goes wrong. Seaming is a specialized skill—it’s not just tape; it requires clean substrate, primer, and seam tape applied with the right pressure and temperature. Improper flashing around penetrations is the #1 leak point we see. If your roof has any complexity beyond a simple, small square, the risk of a costly leak far outweighs the savings on labor. A professional install isn’t just about laying rubber; it’s about providing a system with a warranty and knowing how to handle the unexpected when we peel back the old roof.
A Realistic Cost Breakdown Table
Here’s a look at how the costs typically allocate for a mid-sized, straightforward residential job (like a garage or addition) with a full tear-off and a quality 60-mil fully adhered system. This is a generalized model; your project will differ.
| Cost Component | Approx. % of Total Cost | What It Encompasses |
|---|---|---|
| Labor & Installation | 40% – 50% | Tear-off/disposal, deck prep, membrane cutting/seaming, flashing details, clean-up. This is the value of skilled work. |
| Membrane & Core Materials | 25% – 35% | EPDM membrane rolls, seam tape, adhesives, primers, insulation, fasteners, flashing metals. |
| Substrate Repair & Prep | 15% – 25% | Replacing rotten plywood, leveling the deck, installing proper vapor barriers or insulation. The “unseen” critical work. |
| Overhead & Profit | 10% – 15% | Insurance, licensing, tools, vehicles, and business sustainability. A legitimate contractor needs this to be there for the warranty. |
Is EPDM Even the Right Choice?
EPDM is fantastic for its flexibility and proven track record. But it’s not the only player. For some projects, a TPO (thermoplastic) membrane might be comparable in cost and offer higher reflectivity. For a steeply sloped application, it’s the wrong choice entirely. Part of our job at California Green Roofing is to have that honest conversation upfront. We’ll tell you if EPDM is the best fit for your specific roof shape, use, and budget, or if another solution makes more sense for your Los Angeles home.
The bottom line is that an EPDM roof is a system, not just a product. The cost is in creating a seamless, watertight skin tailored to your building’s unique shape and challenges. It’s an investment in decades of protection, and like most investments, the quality of the execution determines the return. Get multiple quotes, but pay close attention to the details in the scope of work—that’s where you’ll see if they’re pricing a proper system or just the bare minimum.
Related Articles
EPDM Roofing In Los Angeles: A Cost-Effective Solution?
What’s Your Roof’s True Cost? Find Out In 60 Seconds.
Is PVC Roofing A Good Fit For The California Climate
Comparing Spanish Tile Roofs To Metal Roofing Options
Leading Commercial Roofing Manufacturers And Their Products
People Also Ask
The 25% rule is a standard industry guideline for roof repairs, particularly relevant for homeowners in Los Angeles and the San Fernando Valley area. It states that if more than 25% of a roof's surface area is damaged or requires repair, a full roof replacement is generally recommended instead of patching. This rule helps ensure structural integrity and cost-effectiveness, as extensive repairs can lead to inconsistent performance and future leaks. For local homeowners, this principle is critical due to our climate and building codes. For a deeper understanding tailored to your specific situation, we recommend reviewing our internal article titled The 25% Rule In Roofing Explained For LA Homeowners. California Green Roofing always advises consulting a professional to assess your roof's condition accurately.
For homeowners in the Los Angeles and San Fernando Valley area, the cost to install an EPDM roof typically ranges from $5.50 to $9.00 per square foot, including materials and labor. The final price depends on the complexity of your roof’s design, the condition of the existing deck, and whether you need additional insulation or removal of old roofing. EPDM is a popular choice for flat or low-slope roofs due to its durability and UV resistance. For a more detailed breakdown of fire-safe options that comply with local building codes, we recommend reading our internal article titled Fire-Resistant Roofing: A Guide For Los Angeles Homeowners. California Green Roofing always provides a free, on-site estimate to give you an accurate quote for your specific property.
For a 1200 square foot roof in the Los Angeles and San Fernando Valley area, the cost of asphalt shingles typically ranges from $4,500 to $8,500 for materials and basic installation. This estimate covers standard 3-tab or architectural shingles, underlayment, and basic flashing. However, total costs depend heavily on your roof's pitch, number of layers to remove, and local permit fees. For a more precise budget, consider factors like plywood deck replacement if rot is found. To maximize your investment, we recommend reading our internal article titled 'Roofing Rebates And Savings: How To Cut Your Roofing Costs In LA' at Roofing Rebates And Savings: How To Cut Your Roofing Costs In LA for potential rebates. California Green Roofing always advises getting at least three itemized quotes from licensed contractors in your specific area to compare pricing and warranty terms.
In the Los Angeles and San Fernando Valley area, the cheapest time to get a new roof is typically during the late fall and winter months, from November through February. This is the off-peak season for roofing contractors, as cooler weather and shorter days reduce demand. Many companies offer discounts to keep their crews busy during this slower period. However, you must ensure that weather conditions are suitable for installation, as rain can cause delays. For a detailed breakdown of costs and planning, refer to our internal article titled Budgeting For A New Roof: A Los Angeles Homeowner’s Guide. California Green Roofing recommends scheduling a consultation during this window to secure the best rates while maintaining high-quality workmanship.
When evaluating cost factors for an EPDM roof installation in California, particularly within the Los Angeles and San Fernando Valley area, material grade and labor are primary drivers. A standard 45-mil membrane is budget-friendly, while 60-mil or 90-mil options offer greater durability at a higher price. The complexity of your roof—including penetrations, flashings, and existing tear-off—directly impacts labor costs. Climate considerations also play a role; the intense UV exposure in Southern California requires high-quality adhesives and coatings to prevent premature aging. For a detailed breakdown of whether this material is a smart financial move for local homeowners, you should read our internal article titled 'EPDM Roofing In Los Angeles: A Cost-Effective Solution?' at EPDM Roofing In Los Angeles: A Cost-Effective Solution?. California Green Roofing always recommends getting multiple quotes to account for these specific variables.
For homeowners in the Los Angeles area, the cost of a rubber roofing roll typically ranges from $150 to $400, depending on thickness and brand. A standard roll covers about 100 square feet. However, total project costs include underlayment, adhesives, and professional installation. Rubber roofing is valued for its durability and energy efficiency, reflecting heat well in our sunny climate. For a broader perspective on long-term roofing investments, we recommend our internal article titled 'Comparing Spanish Tile Roofs To Metal Roofing Options' at Comparing Spanish Tile Roofs To Metal Roofing Options. California Green Roofing advises that while rubber is cost-effective for flat roofs, proper surface preparation is essential to prevent future leaks.