Key Takeaways: A water stain on your ceiling is a symptom, not the problem. The real work is finding the source, which is often not directly above the stain. Left unchecked, what looks cosmetic can lead to mold, rot, and serious structural repairs. In Reseda’s older housing stock, the cause is frequently tied to specific, recurring issues we see all the time.
We’ve pulled down enough soggy drywall in Reseda homes to know one thing for sure: that brownish-yellow ring on your ceiling is talking. It’s telling you a story about a leak that started days, weeks, or even months ago. Your job isn’t to paint over the narrator. It’s to listen, investigate, and solve the mystery before the plot turns into a full-blown structural disaster.
The most common mistake homeowners make is assuming the leak is directly above the stain. Water is a sneaky traveler. It follows roof rafters, plumbing pipes, and ceiling joists, often appearing feet away from the actual breach. So, if you see a stain near your hallway light fixture, don’t just stare at the ceiling. The real culprit could be a shower pan leak two rooms over.
Table of Contents
What That Stain Is Actually Telling You
A ceiling water stain is a forensic report. Its color, texture, and location give you the first clues.
The Color Code of Ceiling Leaks
A fresh, active leak is often dark and still damp to the touch. A light brown, crusty ring is usually old and may be inactive—but that’s a dangerous assumption. A yellow-ringed stain almost always points to long-term, slow moisture, often from condensation inside an AC duct or a plumbing vent stack leak. The worst one we see? The black, speckled, or fuzzy stain. That’s not just water; that’s a mold colony setting up shop, and it needs immediate, professional attention.
Texture and Shape Matters
Is the stain a perfect circle around a light fixture? That’s a big red flag for an electrical box leak from the roof or a bathroom directly above. Is it a long, linear streak following a straight line? The water is almost certainly tracking along a roof rafter or a plumbing pipe in the attic space. A large, amorphous blob in the middle of a ceiling? That’s classic for a leak that’s pooled on top of the drywall before finally soaking through.
The Reseda-Specific Leak Suspects
After years of servicing homes from Reseda Park to the older neighborhoods off Sherman Way, we see patterns. Your home’s age and our local climate create a shortlist of usual suspects.
The Roofing Culprits
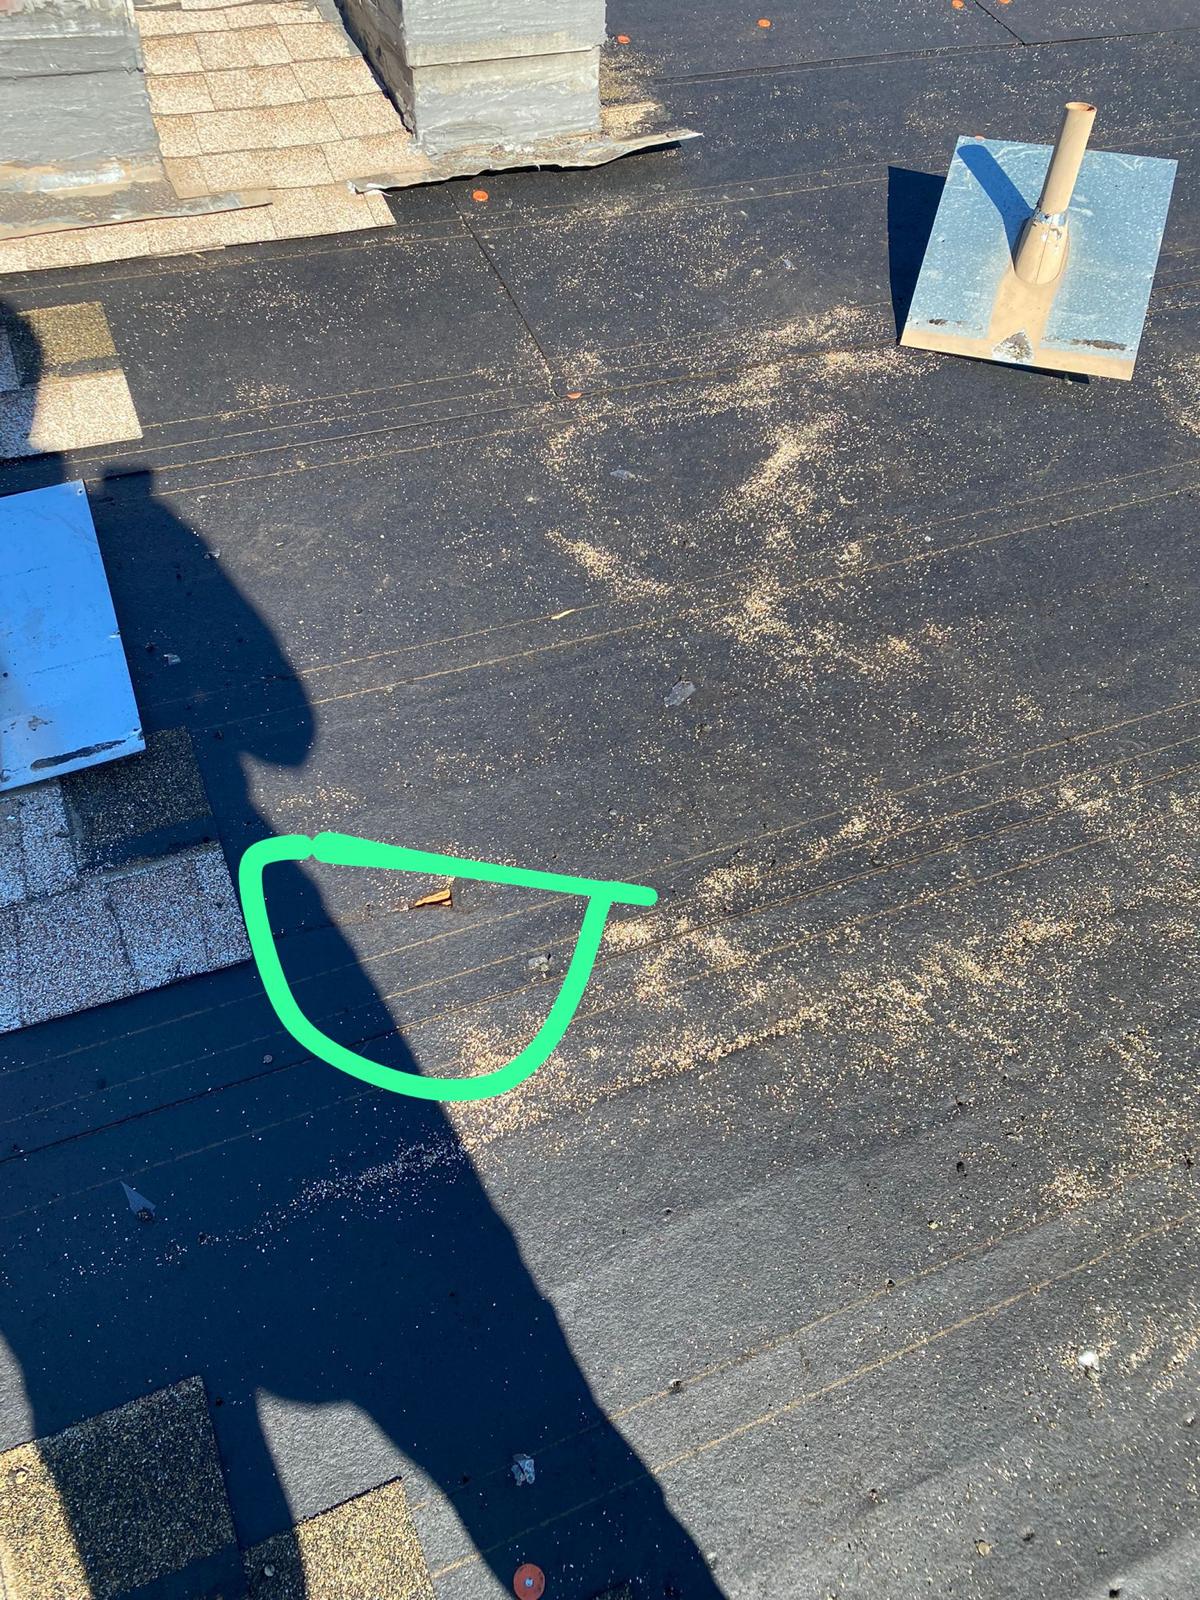
Reseda gets hot, and then it doesn’t rain for months. That thermal cycling is brutal on roofing materials. The most common source we trace back? Failed roof flashings. That’s the metal or rubber sealing around roof penetrations: vent pipes, chimneys, and especially those old, box-style swamp cooler mounts that haven’t been used in decades but were never properly sealed. The tar dries out, cracks, and a single rainstorm sends water running.
The Plumbing Predicament
The second major category is plumbing. Upstairs bathroom leaks are infamous for showing up in downstairs ceilings. The leak is rarely from the toilet bowl itself. It’s from a failing wax seal under the toilet, a slow drip from the supply line, or a crack in the shower pan liner—a costly repair that involves tearing out the shower base. Another local favorite: condensation drip from poorly insulated air conditioner ducts in the attic. On a humid day, it can look exactly like a roof leak.
Your Step-by-Step Diagnostic Triage
Here’s the process we follow, and you can too, to play detective safely.
Step 1: The Attic Recon (If You Have Access)
This is your single most valuable move. With a good flashlight, carefully get into the attic space above the stain. Look for trails. You’re following the water backwards. See a dark stain on the underside of the roof sheathing? Follow that stain uphill to its highest point—that’s your source. Shine your light on plumbing vent stacks; look for rust or white mineral deposits (a sign of slow, long-term weeping). Feel the insulation for dampness. Remember, the stain on your ceiling is the end of the water’s journey.
Step 2: The Roof and Exterior Check
From the ground, with binoculars, look at the roof area above the suspected source (remember, it’s uphill from the attic stain). Look for missing or curled shingles, but pay more attention to the flashings we mentioned. Is the rubber boot around a pipe cracked? Is the metal flashing around the chimney bent or pulling away? Also, check exterior walls for cracks in stucco or failed caulking around windows above the affected area.
Step 3: The Interior Pressure Test
If the attic reveals nothing from the roof, it’s time to look at interior water sources. For bathroom leaks, this often requires a bit of simulation. Have someone stand in the shower while you watch the ceiling stain (from below). Then, have them plug the shower drain, fill the pan with an inch of water, and let it sit. Finally, pull the drain plug. This tests the shower pan liner. To check a toilet seal, dry the floor around the toilet base thoroughly, then have someone sit on it (to simulate weight) while you check for new moisture.
When to Put Down the Tools and Pick Up the Phone
This is the critical moment of honesty in the process. There are lines where DIY ends and professional mitigation begins.
- Any Sign of Mold: If the area is larger than a few square feet, or if you see the black speckling of mold, you need a pro. Disturbing it improperly can spread spores throughout your home.
- The Source is Elusive: You’ve been in the attic three times and can’t find it. A professional roofer or plumber has thermal cameras and moisture meters that can see what you can’t.
- The Leak is Active and Major: If water is actively dripping in a steady stream, you have a pressurized line break. Shut off your main water valve and call a plumber.
- You Have a Flat Roof or a Complex Spanish Tile Roof: These systems are their own specialty. Diagnosing and repairing them incorrectly can lead to much more expensive water damage.
- The Structural Wood Feels Soft or You See Sagging: This is the “structural issue” we warned about. If the ceiling drywall is bowing or the wood you can feel in the attic is soft and spongy, the integrity is compromised. This is a safety and repair scope that requires a contractor.
Hiring a professional like us at California Green Roofing in Los Angeles isn’t just about fixing the leak. It’s about a comprehensive diagnosis and repair that includes proper drying techniques to prevent mold. What you save in DIY pride, you can lose tenfold in a botched repair that leads to a $15,000 mold remediation bill later. For a Reseda homeowner, the peace of mind knowing the repair respects local building codes and is warrantied is often worth the investment.
The Repair: It’s More Than Just Patch and Paint
Let’s say you found a small, accessible leak from a cracked vent pipe boot on the roof. You fixed it. The area is now bone dry. You’re not done.
You must let the affected materials dry completely. This can take weeks. Running a dehumidifier in the attic space can help. Painting over a stain with any moisture left behind will just trap it and guarantee the stain will bleed through or mold will grow behind the paint.
For the ceiling repair itself, cutting out the damaged drywall is key. Don’t just spackle over a stained, swollen spot. Cut a clean square out, check the cavity for any hidden moisture or mold on the backside of the adjacent drywall or on the joists, and then install a new piece. This is also your chance to add insulation if needed or to inspect the backside of that electrical fixture.
Cost Considerations and Trade-Offs
Let’s be practical. Decision-making often comes down to cost, risk, and longevity. Here’s a rough breakdown of what you’re looking at, from DIY to full professional remediation.
| Scenario & Approach | Estimated Cost Range | Trade-Offs & Considerations |
|---|---|---|
| DIY Minor Leak Fix (e.g., replacing a roof boot, re-caulking a window) | $50 – $300 (materials only) | Pros: Low cash cost. Cons: High time/risk cost. If diagnosis is wrong, damage continues unseen. No warranty on work. |
| Professional Leak Source Repair (e.g., roofer fixes flashing, plumber fixes pipe) | $500 – $2,500 | Pros: Correct diagnosis, proper repair, often warrantied. Stops the problem at the source. Cons: Higher upfront cost. Doesn’t include interior damage repair. |
| Professional Leak Source + Interior Damage Mitigation | $2,000 – $8,000+ | Pros: Turnkey solution. Includes leak stop, dry-out, mold prevention, and repair of structure/ drywall. Warranty on entire job. Cons: Significant investment. When it’s worth it: For any major leak, mold presence, or when you lack time/expertise. |
| Painting Over the Stain (The “Hope & Pray” Method) | $30 (can of stain-blocking primer) | Pros: None. It’s cosmetic only. Cons: Guarantees the problem will get worse, leading to exponentially higher costs and health risks. Never recommended. |
The Long-Term View for Reseda Homeowners
In our climate, prevention is the best medicine. An annual roof inspection, especially before the rare rainy season, is cheaper than any repair. Checking your attic after the first big rain can catch a small leak before it stains your ceiling. Ensuring your bathroom vents exhaust outside the house, not just into the attic, prevents a world of moisture problems.
That stain on your ceiling is a warning light on your home’s dashboard. You can ignore it and risk the engine seizing up—or you can pop the hood and investigate. The process is methodical: listen to the clues, trace the water’s path, and be brutally honest about your own limits. Sometimes the fix is a $20 tube of sealant. Other times, it’s a call to a professional who can ensure your home in Reseda stays solid, safe, and dry for the long haul. The goal isn’t just a clean ceiling; it’s the confidence that the structure over your head is sound.
Related Articles
The Los Angeles Homeowner’s Guide To Detecting And Repairing Hidden Roof Leaks Before They Spread
Leak, Stain, Or Sag? How To Diagnose Your LA Roof Problem
How To Handle Emergency Roof Leaks During Rainy Season: A Reseda Homeowner’s Action Plan
The Silent Killer Of San Fernando Valley Roofs: Are You Protected?
Spanish Tile Roof Repair: Preserving Your Home’s Character
People Also Ask
Yes, a water stain on a ceiling should be taken seriously as it typically indicates an active leak. Even a small stain can signal a larger problem, such as a damaged roof, a plumbing leak, or condensation issues. If left unaddressed, moisture can lead to structural damage, mold growth, and compromised insulation. At California Green Roofing, we recommend inspecting the source promptly. A professional assessment can determine if the stain is from a recent rain event or a chronic issue. Ignoring it risks costly repairs and health hazards from mold. Always treat a ceiling water stain as a warning sign that requires immediate attention.
The average cost to repair a ceiling with water damage typically ranges from $350 to $1,200, depending on the severity of the issue. Minor repairs, such as patching a small stain or fixing a localized leak, may cost around $300 to $500. More extensive damage, requiring drywall replacement, mold remediation, or structural work, can exceed $1,500. It is crucial to first identify and fix the source of the water, such as a faulty roof or plumbing leak, to prevent recurrence. For roofing-related water damage, a professional assessment is recommended. California Green Roofing advises that prompt action reduces long-term costs and protects your home’s integrity. Always obtain multiple quotes and verify contractor credentials before proceeding.
Whether insurance covers water stains in a ceiling depends entirely on the cause of the leak. Most standard homeowner policies cover sudden and accidental damage, such as a burst pipe or a roof damaged by a storm. In these cases, the cost to repair the source of the leak and the resulting ceiling stain is often covered. However, insurance typically excludes damage from gradual issues like long-term neglect, poor maintenance, or wear and tear. If the water stain is due to an old, unmaintained roof, the claim will likely be denied. For professional guidance on preventing such issues, consulting a specialist like California Green Roofing for a proper roof inspection can help identify vulnerabilities before they lead to costly claims.
No, a ceiling does not always need to be replaced when it has a water stain. The first step is to identify and fix the source of the moisture, such as a leaking pipe or roof. Once the leak is resolved, many water stains can be treated without full replacement. For minor stains, you can clean the area with a bleach solution, prime it with a stain-blocking primer, and then repaint. However, if the drywall is sagging, bubbling, or feels soft to the touch, the material may be compromised and require replacement. For professional assessment, a company like California Green Roofing can inspect the roof to ensure no ongoing leaks are causing ceiling damage. Always prioritize drying and mold prevention before any cosmetic repair.
If you see a water stain on your ceiling but cannot find an active leak, it is often a sign of a past plumbing issue or condensation that has since dried. However, the stain may reappear if the moisture source is not fully resolved. For flat or low-slope roofs, trapped moisture under the membrane can cause such staining without a visible drip. At California Green Roofing, we recommend checking for hidden leaks around vents, skylights, or flashing. You should also inspect your attic for mold or damp insulation. If the stain grows after rain, the leak is likely active. A professional moisture meter or thermal imaging scan can pinpoint the source without damaging your ceiling. Always address the root cause before painting over the stain.
The appearance of tiny brown spots on your ceiling is a classic sign of a slow, persistent roof leak. These spots are typically caused by water seeping through the roof deck and leaching tannins from the wood or other debris. As the water evaporates, it leaves behind these brown stains. It is critical to address this issue quickly, as the moisture can lead to mold growth and structural rot. For a comprehensive strategy on identifying the source and repairing the damage before it worsens, we recommend reviewing our internal article titled The Los Angeles Homeowner’s Guide To Detecting And Repairing Hidden Roof Leaks Before They Spread. A professional inspection is often necessary to locate the exact entry point, as the stain may be far from the actual leak.
A water stain on your ceiling without a visible leak in the attic often indicates a slow, intermittent leak that has already dried or is traveling along a roof deck or pipe. The water may be entering at a higher point, such as a flashing joint or a cracked vent boot, then running along a beam before dripping onto the ceiling below. This hidden moisture can lead to mold and structural damage over time. For a thorough diagnosis, we recommend reading our internal article titled 'The Los Angeles Homeowner’s Guide To Detecting And Repairing Hidden Roof Leaks Before They Spread', available at The Los Angeles Homeowner’s Guide To Detecting And Repairing Hidden Roof Leaks Before They Spread. Acting quickly can prevent the problem from worsening.