If you’ve never been through a full roof replacement, the whole process probably feels a bit like a black box. You know the crew shows up, there’s some noise, and a few days later you have a new roof. But the reality is more layered than that, and the difference between a smooth project and a nightmare often comes down to knowing what happens at each stage before the work even begins.
We’ve seen homeowners panic when the old shingles come off and they see the plywood underneath for the first time. We’ve also seen people try to micromanage every nail, only to realize they were standing in the way of their own project. The truth is, a roof replacement isn’t just about swapping old for new. It’s a structural intervention that involves inspection, preparation, sometimes remediation, and always a bit of noise.
Let’s walk through the stages so you know what to expect, where the hidden costs live, and when you should absolutely step back and let the pros handle it.
Key Takeaways
- A full roof replacement takes 2–5 days on average, but weather and structural issues can extend that timeline.
- The tear-off stage reveals hidden damage that often requires additional plywood replacement.
- Proper ventilation and underlayment are just as important as the shingles themselves.
- A professional inspection before the project starts can save thousands in unexpected repairs.
- In Los Angeles, local building codes and climate considerations (like heat and dry rot) directly impact material choices and installation methods.
Table of Contents
The Pre-Work Inspection Nobody Talks About
Most homeowners think the project starts when the truck pulls up with shingles. It doesn’t. The real start happens a week or two earlier, when someone gets on the roof to look for issues that could derail the job. This is where we catch the stuff that would otherwise become a change order mid-project.
We’ve walked roofs that looked fine from the street but had three layers of old shingles hiding severe deck rot. That’s not uncommon in older Los Angeles neighborhoods like Silver Lake or Echo Park, where homes were built in the 1920s and have had multiple overlays. The inspection stage is where we decide if the existing decking can handle a new roof or if we need to budget for plywood replacement.
This is also when we check for inadequate ventilation, which is a massive problem in Southern California. People assume hot climates mean you need less ventilation, but that’s backwards. Poor ventilation traps heat and moisture, cooking your shingles from underneath and voiding warranties faster than you’d think. A good inspector will measure intake and exhaust vent ratios, not just glance at a few ridge vents.
If you’re working with a contractor who skips this step or does it from a ladder, that’s a red flag. The pre-work inspection should be hands-on, with someone actually walking the roof and checking every penetration, valley, and flashing point.
The Tear-Off: Where Things Get Real
Morning of day one. The crew shows up, lays down tarps, and starts pulling shingles. This is the loudest, dustiest, and most disruptive phase. If you work from home, plan to relocate for at least a full day. The vibration alone from tear-off can knock pictures off walls inside the house.
What happens during tear-off that most people don’t expect: the amount of debris is staggering. A 2,000-square-foot roof produces about three to four tons of waste. That’s not an exaggeration. We’ve filled dumpsters that looked like they could hold a small car. The crew is hauling shingles, nails, underlayment, and sometimes old flashing in wheelbarrows and dumping them into a roll-off container.
This is also when we find the surprises. A section of decking that feels spongy underfoot. A previous repair that was done with roofing cement and hope. Maybe a bird’s nest or two. In Los Angeles, we also see a lot of damage from dry rot, especially in homes near the coast where salt air accelerates deterioration. If the decking is compromised, we stop the tear-off and call you. That’s the moment where a $500 contingency can turn into a $2,000 unexpected cost if you didn’t plan for it.
We always recommend setting aside 10–15 percent of your total budget for unforeseen decking repairs. It’s not a sales tactic. It’s reality.
Deck Preparation and Repairs
Once the roof is bare, we’re looking at the plywood or OSB decking. This is the structural layer that everything else sits on. If it’s rotten, warped, or has gaps larger than a quarter-inch, it needs to come out.
Deck replacement is straightforward but labor-intensive. We cut out the bad sections, sister in new plywood, and nail it down to the rafters. The tricky part is matching the thickness. Older homes sometimes have non-standard decking, like 1×6 boards instead of plywood. That requires either a full redeck or careful planning to bring everything to the same plane.
This stage is also where we address any issues with the roof framing. We’ve seen rafters that were notched improperly during a previous remodel, or ridge boards that were undersized. These are structural problems that a shingle job won’t fix, and they need to be addressed before we move forward.
If you’re doing a DIY roof replacement, this is the stage where most people realize they’re in over their heads. Cutting decking around chimneys and skylights requires precision, and one wrong cut can create a leak that’s impossible to find later. We’ve fixed more than a few DIY jobs where the homeowner saved $500 on labor but ended up paying $3,000 for us to fix the resulting water damage.
When professional help is non-negotiable: If your roof has multiple penetrations (skylights, plumbing vents, chimneys), complex valleys, or any history of leaks, do not attempt the deck prep yourself. The risk of creating a chronic leak is too high.
Underlayment and Flashing: The Unsung Heroes
Here’s where a lot of roofers cut corners, and where homeowners should pay close attention. The underlayment is the waterproof layer between the deck and the shingles. It’s what keeps water out if a shingle blows off or gets damaged.
For years, the standard was 15-pound felt paper. It works, but it’s heavy, tears easily, and can wrinkle. Most reputable contractors in Los Angeles now use synthetic underlayment. It’s lighter, more tear-resistant, and handles heat better. Given our climate, where summer temperatures on a dark roof can hit 160 degrees, synthetic underlayment is worth the upgrade.
Flashing is even more important. This is the metal work around chimneys, skylights, vents, and wall intersections. Bad flashing is the number one cause of roof leaks, not shingles. We use galvanized steel or aluminum, bent to fit each penetration precisely. Pre-fabricated flashing boots for vents are fine, but step flashing at walls and chimneys should be hand-formed and interleaved with the shingles as they go on.
A common mistake we see: contractors reuse old flashing. That’s a shortcut that almost always leads to a call-back within two years. New flashing is cheap relative to the cost of a repair. Insist on it.
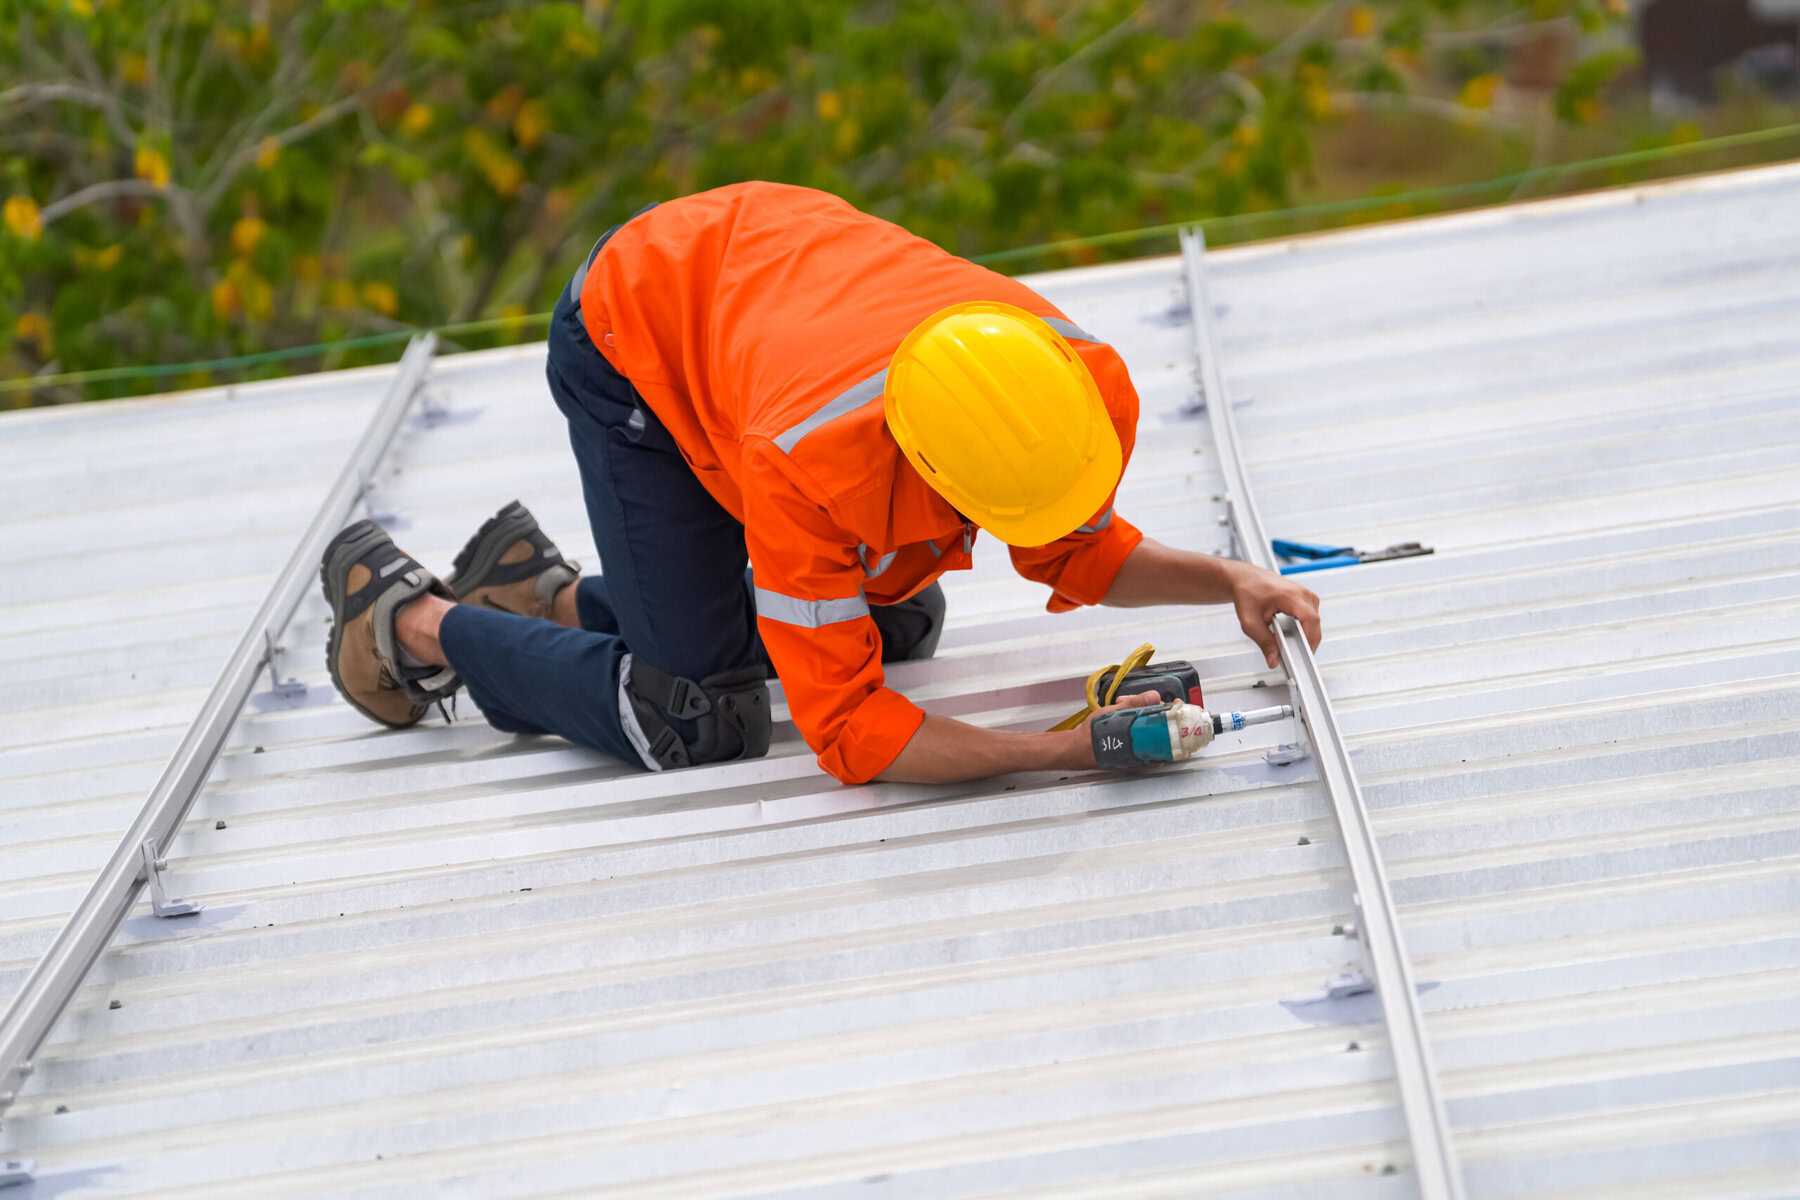
Shingle Installation: The Visible Part
Now the actual roofing material goes on. Whether you chose asphalt shingles, architectural shingles, or a premium product like synthetic slate, the installation process is similar. The crew starts at the bottom edge, works up, and overlaps each course by the manufacturer’s specified amount.
This is where the quality of the crew really shows. A good installer keeps the shingles straight, nails them in the right spot (not too high, not too low), and doesn’t overdrive the nails. Overdriven nails crush the shingle and create a weak point. Underdriven nails leave the shingle loose. Both are problems.
We also pay close attention to nail placement in high-wind areas. Los Angeles doesn’t get hurricanes, but we do get Santa Ana winds that can exceed 60 mph. In areas like the San Fernando Valley or foothill communities, we use six nails per shingle instead of the standard four, and we hand-nail the ridge caps for extra hold.
If you’re comparing bids, ask how many nails per shingle they use and whether they hand-nail ridges. The difference in material cost is negligible, but the difference in wind resistance is significant.
Ridge Vent and Final Details
The ridge vent is the exhaust component of your ventilation system. It runs along the peak of the roof and allows hot air to escape from the attic. In a properly designed system, cool air enters through soffit vents and hot air exits through the ridge vent. No mechanical fans needed.
We see a lot of roofs where the ridge vent was installed incorrectly, either cut too short or blocked by shingle overhang. A blocked ridge vent is worse than no vent at all because it creates pressure imbalances that can pull conditioned air out of your living space.
The final details also include installing drip edge along the eaves and rakes, which directs water into the gutters and away from the fascia. And of course, the crew should do a thorough magnet sweep for stray nails. We’ve all stepped on a roofing nail in the driveway. It’s not fun.
Cleanup and Final Inspection
A professional crew leaves the site cleaner than they found it. That means no nails in the grass, no shingle debris in the gutters, and no leftover material stacked against the house. We run magnets over the entire property, blow off the driveway, and do a walk-around with the homeowner.
We also do a final inspection from the roof, checking every penetration, flashing point, and ridge cap. If there’s a loose nail or a lifted shingle, we fix it on the spot. This is the last chance to catch small issues before they become big ones.
For homeowners in Los Angeles, the final inspection is also when we review the manufacturer’s warranty and the workmanship warranty. Make sure you get both in writing. A good contractor stands behind their work for at least five years, sometimes ten.
When the Timeline Goes Sideways
No project goes perfectly. Weather delays are the most common. In Los Angeles, we get rain maybe 35 days a year, but when it rains, it can shut down a job for days because the deck has to be completely dry before underlayment goes down.
Supply chain issues also pop up. A specific shingle color might be backordered for weeks. That’s why we always recommend ordering materials well in advance and having a backup color in mind. It sounds trivial, but we’ve seen projects delayed by six weeks because the homeowner insisted on a discontinued color.
And then there are the structural surprises we mentioned earlier. If the crew finds rotted decking across half the roof, that adds a day or two. If the framing needs repair, that’s another day. A standard 2,000-square-foot roof can go from a three-day job to a five-day job without anyone doing anything wrong.
Planning tip: Schedule your roof replacement during a dry stretch, and don’t book any time-sensitive events for the week after the estimated completion date. Give yourself a buffer.
Alternatives Worth Considering
A full replacement isn’t always the answer. If your roof is less than 15 years old and only has isolated damage, a repair might buy you another five years. We’ve also seen homeowners opt for a re-cover, which means layering new shingles over the old ones. It’s cheaper and faster, but it adds weight to the structure and hides any underlying deck issues. Most building codes limit re-covers to one layer, and many manufacturers won’t warranty shingles installed over old ones.
Another alternative is a metal roof. It’s more expensive upfront but lasts 40–50 years and reflects heat better than asphalt. In Los Angeles, where cooling costs are a real concern, metal is gaining popularity. But it requires specialized installers, and not every roofer knows how to work with standing seam panels.
We’ve also worked with homeowners who chose synthetic slate or cedar shakes for aesthetic reasons. Those materials look great but require more maintenance and are heavier, which may require structural reinforcement. There’s no one-size-fits-all answer. The right choice depends on your budget, your home’s architecture, and how long you plan to stay in the house.
Cost Realities and Trade-Offs
Let’s talk numbers without getting too salesy. A typical asphalt shingle replacement in Los Angeles runs between $8,000 and $15,000 for a standard 2,000-square-foot home, depending on pitch, accessibility, and material grade. That’s for a straightforward job with no decking repairs.
If you add synthetic underlayment, upgraded flashing, and ridge vent, you’re looking at the higher end. If you need full deck replacement, add $2,000 to $4,000. If you have a steep pitch or a complex roof with multiple valleys and dormers, the labor goes up.
Here’s a quick comparison table to help you weigh options:
| Material | Average Cost per Sq Ft (Installed) | Lifespan | Best For |
|---|---|---|---|
| 3-tab asphalt | $3.50 – $5.00 | 15–20 years | Budget-conscious, simple roofs |
| Architectural asphalt | $4.50 – $7.00 | 25–30 years | Most residential, good durability |
| Metal (standing seam) | $8.00 – $14.00 | 40–50 years | Energy efficiency, long-term ownership |
| Synthetic slate | $9.00 – $15.00 | 40–50 years | High-end aesthetics, historic districts |
| Cedar shakes | $7.00 – $12.00 | 20–30 years | Rustic look, but high maintenance |
The trade-off is always upfront cost versus long-term value. Architectural asphalt is the sweet spot for most homeowners. It’s not the cheapest, but it’s not the most expensive, and it lasts long enough that you’ll probably sell the house before you need another roof.
When You Should Absolutely Hire a Professional
We’ve helped plenty of DIY-minded homeowners with advice, but there are situations where professional help is not optional.
- Steep slopes (7/12 pitch or higher): Walking on a steep roof without proper safety gear is dangerous. Falls are the leading cause of death in construction.
- Multiple skylights or chimneys: Each penetration is a potential leak point. Flashing these correctly takes experience.
- Historic homes or landmark districts: In neighborhoods like Los Feliz or Hancock Park, there are specific material and color requirements. A professional knows how to navigate those rules.
- Any sign of structural damage: If you see sagging decking or cracked rafters, stop. That’s a structural engineer’s job, not a weekend project.
We’ve seen too many people end up in the ER or with a ruined interior because they underestimated the complexity of a roof replacement. It’s one of those jobs where the cost of hiring a pro is almost always cheaper than the cost of fixing a mistake.
Final Thoughts
A roof replacement is a big project, but it doesn’t have to be a stressful one. The key is understanding the stages, planning for surprises, and choosing a contractor who communicates clearly about what’s happening at each step. If you’re in Los Angeles and considering a replacement, take the time to get multiple bids, ask about ventilation and flashing, and don’t be afraid to ask for references. A good roof should last 25 years or more. That’s worth doing right.
If you’re still on the fence about whether a full replacement is the right move, or if you just want a second opinion on a bid you’ve received, reach out to a local professional who knows the area’s climate and code requirements. Understanding the basic anatomy of a roof can help you ask better questions and feel more confident in your decisions.
Related Articles
The Complete Step-by-Step Guide To A Los Angeles Roof Replacement
How To Spot Signs Your Commercial Roof Needs Repair Or Replacement
Los Angeles Roof Replacement Cost: The 2026 Homeowner’s Complete Guide
Top Roofing Materials Used Across California Homes
Is PVC Roofing A Good Fit For The California Climate
People Also Ask
The process of roof replacement generally follows several key stages. First, a thorough inspection is conducted to assess the existing structure and identify any underlying damage. Next, the old roofing materials are completely removed, exposing the deck. After removal, the deck is repaired or replaced as needed to ensure a solid foundation. The third stage involves installing underlayment and a waterproof barrier for protection against moisture. Flashing around chimneys, vents, and valleys is then replaced or repaired. Finally, the new roofing material, such as shingles or tiles, is installed, followed by ridge vents and clean-up. For a seamless experience, many homeowners trust California Green Roofing to manage these stages with precision and care.
The 25% rule in roofing is a common industry guideline used by many building codes and manufacturers. It states that if more than 25% of a roof's total area is being replaced or repaired within a 12-month period, the entire roof system must be brought up to current code standards. This rule prevents partial repairs that could lead to structural weaknesses or code violations. For homeowners and contractors, understanding this rule is critical for budgeting and planning. At California Green Roofing, we always assess the scope of work against this threshold to ensure your project remains compliant and safe. Ignoring the 25% rule can result in failed inspections and costly rework.
Asphalt shingles are most commonly ruined by a combination of sun exposure and improper installation. Ultraviolet (UV) radiation from the sun breaks down the asphalt over time, causing the granules to loosen and the matting to become brittle. This process is accelerated by poor attic ventilation, which traps heat directly under the roof deck. Additionally, high winds can lift shingles, allowing water to seep underneath, while heavy rain and ice dams force moisture into the seams. Moss and algae growth also trap moisture against the surface, leading to rot. For lasting protection, a specialist approach is critical. As we discuss in our internal article titled More Than A Patch: Why A Specialist Approach To Roof Repair Saves You Money, addressing these specific failure points requires more than a simple patch. California Green Roofing emphasizes that proper ventilation and quality materials are your best defense against premature shingle failure.
A full roof replacement includes the complete removal of your existing roofing materials down to the roof deck. This process involves tearing off old shingles or tiles, underlayment, and flashing. The crew will then inspect and repair any damaged decking or structural components. After this, new underlayment is installed, followed by the new roofing material, such as asphalt shingles, metal, or tile. New flashing is also placed around chimneys, vents, and valleys to ensure watertight seals. Proper ventilation systems, like ridge vents or soffit vents, are typically updated to maintain attic health. For a comprehensive understanding of long-term value, we recommend reading our internal article titled 'Timeless Tiles: Investing In A Roof That Lasts A Century' at Timeless Tiles: Investing In A Roof That Lasts A Century. At California Green Roofing, we ensure every replacement includes a thorough clean-up and disposal of old materials.
A complete roof replacement in Texas typically involves several key stages. First, a thorough inspection is performed to assess the existing structure and identify any underlying damage, such as rot or mold. Next, the old roofing materials are stripped away, exposing the deck. After that, any necessary deck repairs are made, followed by the installation of underlayment and ice and water shield, which is critical for Texas weather. Flashing around chimneys and vents is then replaced. Finally, new shingles or tiles are installed, along with ridge vents for proper attic ventilation. While California Green Roofing specializes in sustainable options, the core process remains similar across climates, though local building codes will dictate specific material requirements.


